Browsing Tag

Alcohol Ink

Cardmaking Elizabeth Craft Designs General Fantasy Flowers Joset Designs Paper Flowers Soft Finish Cardstock Sue Smith Creative Designs Uncategorized

Alcohol Ink Cards

February 26, 2021

Karen here today. I’ve seen quite a number of people playing with alcohol inks lately, so I decided to pull mine out. I’d forgotten how fun they are and how versatile the backgrounds are to use. Today’s post features two backgrounds I created and four cards using different designer product lines here at Elizabeth Craft Designs.

First thing I did was to create these two gorgeous backgrounds by dropping various colors of alcohol ink on a couple sheets of Yupo paper. I then moved it around with a straw and droppered on some rubbing alcohol.

I cut two strips of the blue background for this card that is matted on a card base and card front made from 90 lb White Soft Finish Cardstock. I created an adorable Sea Turtle (designed by Joset) to put on the card and added some dark blue cardstock, washi tape and blue half pearls. The turtle is colored with Distress Inks in Mowed Lawn, Pine Needles, and Vintage Photo with Mermaid Lagoon bubbles. The sentiment is from the Splish Splash Sentiment stamps.

With the other piece of the blue background I added it crooked to this Christmas card. The beautiful girl image is designed by Charlene & Ilse and is from the Oh the Joy of Christmas stamps (as is the sentiment). I colored the girl with Copic markers

  • Clothes: B12, B14, B16, C1, C3
  • Skin: E000, E00, E11, R20
  • Lips: E4, E93
  • Hair: E21, E23, E25
  • Eyes: YG03, YG17

I again added some blue cardstock as well as some diamond dots and some lace.

Next, I used a Fitted Circle die cut of the purple ink background to create this card with the Florals 4 set designed by Anita. How pretty are these flowers with just a smidge of Wilted Violet Distress Ink in the centers!?! The leaves are colored with Peeled Paint and the Blooming Branches leaves (that I cut in many pieces for “filler”) is colored with Mowed Lawn. The centers of the flowers are some stamen I got on Amazon. The card base is again 90 lb White Soft finish cardstock, topped with a Fitted Rounded Rectangle die cut matted on purple cardstock.

Last but not least, I created this card using the Celebrate stamps from Sue Smith. I heat embossed the sentiment using ranger gold embossing powder and added a couple hearts (also from the Celebrate Set) that I colored with green and purple markers. The card front is cut with a Stitched Indented Rectangle die.

Thank you for stopping by today!

Craftily yours, Karen

Supplies from Elizabeth Craft Designs

Other Supplies

Colored Cardstock, Alcohol Inks, Embossing Powder, Black and Versamark Inks, Distress Inks, Copic Markers, Diamond Dots and Half Pearls, Stamens, Lace

Cardmaking Inspiration from the Design Team Joset Designs

Masculine Valentine

January 14, 2021

Hey everyone, it’s EK and today I am starting my quest to finish my vantines for those that I love. So one of the things I think the most difficult is crafting something for teenage boys. I can create for my husband with ease, and my daughters in a snap of the finger…but my teenage son, well that is a whole different story. Today I thought I would tackle a valentine for my son using Joset’s Peek-A-Boo Love Set dies to help me.

Step One: Die cut the door flap from the Peek-A-Boo Love Set die set onto an A2 card frame so the flap opens on the right.

Step Two: Using ink, blend the edges of the card frame. I used Pumice Stone Distress Oxide.

Step Three: Using yupo paper and alcohol inks, create a background. I went with blue tones trying to avoid the stereotypical valentine colors and create a more masculine feel.

Step Four: Trim the yupo paper, and add some 10mm Clear Double Sided Adhesive to the back of the paper and adhere it inside the card frame.

Step Five: Add both 10mm and 6mm Clear Double Sided Adhesive to the top inside boarder of the card frame and seal the card shut.

Step Six: Using two different inks, stamp a sentiment onto the flap from the Bear Hugs stamp set. I used Brick Red Distress Oxide for the ‘XOXO’ and Chipped Sapphire Distress Oxide for the ‘Hugs & Kisses’.

Step Seven: Die cut accessories from the Peek-A-Boo Love Set die set out of 90lb Soft Finish Cardstock and color them. I used copics.

Step Eight: Using liquid adhesive adhere the key to the front of the flap. I used Kids Choice Glue.

Step Nine: Adhere the other accessory pieces inside the card.

Step Ten: Stamp a sentiment inside the card from the Bear Hugs stamp set. I used StazOn ink over the alcohol ink.

Step Eleven: Finally spray the face of the card with a shimmer spray to give it a little flair.

I’m not certain this is quite masculine enough to keep my kid from rolling his eyes, but he will think the flap is pretty cool. He likes when my cards function in a none traditional way.

Do you make your family valentines? Let us know in the comments below. Until then, happy crafting.


Art Journal Collection Charlene Stamps

See Possibility Everywhere

September 15, 2020

Hi there,

it’s Tanja here and today I would like to show you the step-by-step tutorial for this Art Journal Page.

Step 1: Creating the Background

  • use Alcohol Inks (Aqua, Turquoise) and an Alcohol Ink Alloy (Foundry) to create a background on Yupo
  • cut out your favorite spot with one of the Stitched Rectangles
  • adhere it to an Art Journal Page cut with the help of the page die from the Floral Insert die set from a piece of patterned paper

Step 2: Coloring and Setting the Scene

  • stamp the turtle from the Water Creatures set with Versafine Clair Morning Mist and heat-emboss it with clear embossing powder
  • cut it out
  • color the turtle using the Watercolor Palette
  • dye a piece of cheesecloth with Distress Ink (Walnut Stain, Peacock Feathers)
  • cut out a piece of fabric and prepare a string of silver thread

Step 3: Assembly

  • adhere all the different elements on top of each other using hot glue
  • use clear double-sided adhesive to attach a pre-cut sentiment

I hope you got inspired.

Hugs,

Supplies:

Elizabeth Craft Designs –

Other –
Alcohol Ink (Aqua, Turquoise)
Alcohol Ink Alloy (Foundry)
patterned paper
Yupo
Versafine Clair Morning Mist
clear embossing powder
Distress Ink (Peacock Feathers, Walnut Stain)
fabric
cheesecloth
silver thread
hot glue gun
pre-cut sentiment

A Way With Words

Make a Wish

June 27, 2020

Hey Friends!  It’s EK Gorman back to share one of my favorite things in this world to do when making cards.  I just love to make a card that looks elegant and lovely, but in fact has an underlined teasing tone to it.  One of my favorite stamps to create this type of card is A Way With Words Happy Birthday Collection stamp set.  It has just the right amount of elegance and teasing to create the perfect birthday card for that friend who might be getting old.

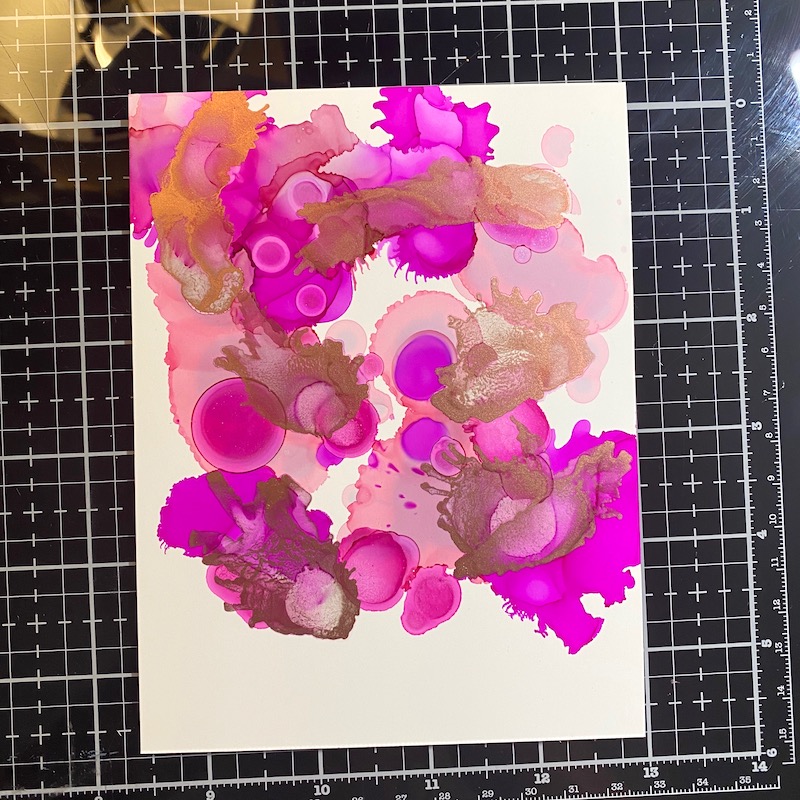
IMG_0263Step One:  Pull out a piece of Yupo paper and splatter on some alcohol ink to create a background.

IMG_0264Step Two:  Die cut the yupo paper with the A Way with Words Big Balloon die set.

IMG_0265Step Three:  Using a piece of 90lb Soft Finish Cardstock trimmed to 4.25×5.5 inches.  Blend a collection of coordinating ink onto the cardstock to create a soft background.
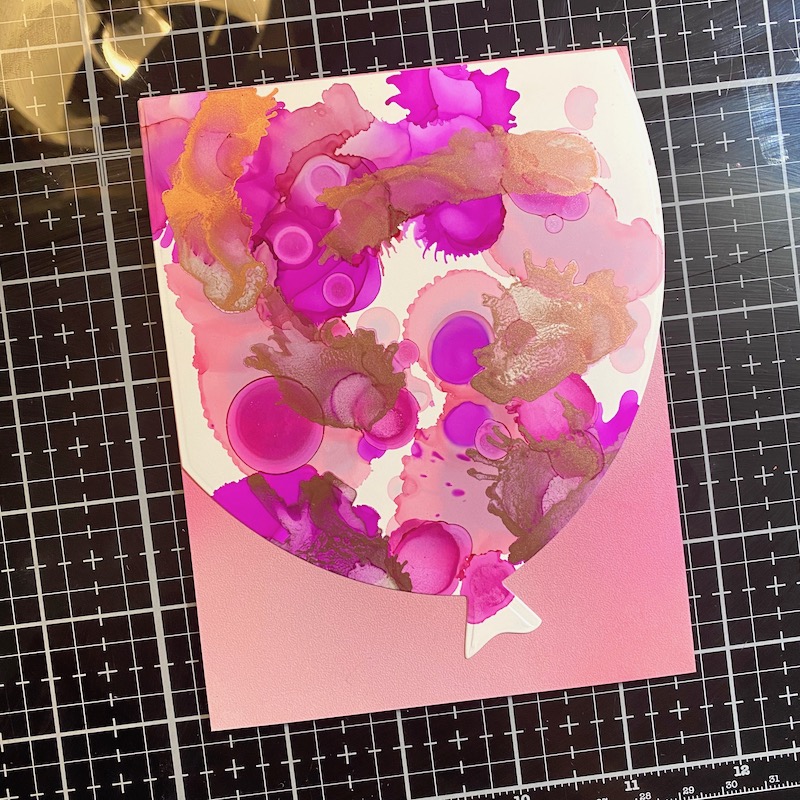
IMG_0266Step Four:  Adhere the balloon onto the cardstock using 10mm Clear Double Sided Adhesive.

IMG_0267Step Five:  Die cut and adhere the bow to the balloon from the Big Balloon die set.  I used Kids Choice Glue to adhere the bow.

IMG_0268Step Six:  Using a permanent black ink and a stamping platform, stamp the sentiment onto the balloon from the Happy Birthday Collection stamp set.

IMG_0329Step Seven:  Adhere the card front to an A2 card frame using 10mm Clear Double Sided Adhesive.  Trim any bit of the balloon that hangs off the card frame.
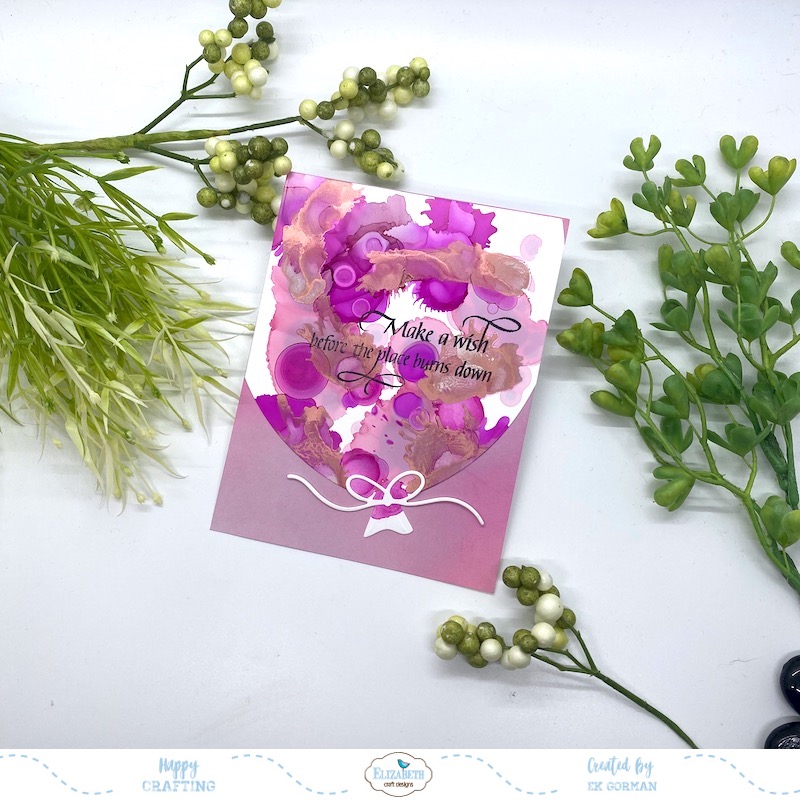
IMG_0330I hope my birthday card makes you smile.  Let us know in the comments below if you enjoy making cards that make people laugh.  Until then, happy crafting.


Cardmaking Joset Designs

Miss you Monkey

April 30, 2020

Hi there,

It’s Tanja here and today I would like to show you how to create this controlled shaker card with Joset’s adorable little monkey as the focal image.

Step 1: Die Cutting, Coloring and Assembly of the Focal Animal

  • cut out all the elements needed from the Monkey die set from white Soft Finish Cardstock
  • color the elements with Alcohol Markers and add extra shading with Distress Ink (Tea Dye, Ground Espresso) and a Mini Ink Blending Tool
  • add highlights with a white gel pen

Step 2: Create the Background

  • create a background on Yupo paper using Alcohol Inks (Moss, Everglades)
  • stamp some leaves from the Garden Flowers set onto that background with brown ink and heat-emboss them with clear embossing powder

Step 3: Create the Frame

  • cut out a frame from kraft cardstock using two dies from the Stitched Rectangles set
  • cut out the cloud and the grass borders using dies from the Adventure Edges set
  • add color with Distress Ink (Peeled Paint, Salty Ocean) and a Blending Brush

Step 4: Finishing the Shaker and Adding the Sentiment

  • thread some clear and green seed beads onto a green string
  • assemble the whole mechanism using double-sided foam adhesive
  • create the sentiment using the Sentiments 1 Celebrations stamp set and its matching dies

I hope you got inspired.

Stay creative.

Hugs,

Supplies

Elizabeth Craft Designs –


Monkey
white Soft Finish Cardstock
Stitched Rectangles
Adventure Edges
Garden Flowers
Sentiments 1 Celebrations and matching dies

Others –
Alcohol Markers
Distress Ink (Ground Espresso, Tea Dye, Salty Ocean, Peeled Paint)
kraft cardstock
Alcohol Ink (Moss, Everglades)
Lawn Fawn Crunchy Leaf
clear embossing powder
white gel pen

A Way With Words ModaScrap Soft Finish Cardstock

Bliss

January 23, 2019

Hello!!! Wanda here! I am thrilled to be back sharing on the ECD blog. I was part of Suzanne’s team back in 2016 and needed to step away from it because of life stuff but now I’m back.

I have a really simple card today using one of the brand new A Way With Word dies, Bliss. Isn’t the calligraphy for this word just beautiful!!!

Let’s get started —

1. Create an Alcohol Ink background on a 5″ x 7″ piece of White Yupo Paper by dripping and/or using felt on a block to apply your alcohol inks (Ranger Ink). You could make this in any color combination that you wanted. I’ve used the colors Amethyst, Flamingo, and Patina. The thicker lines of ink stay sticky for a bit after the rest of the ink is dry. At this point, I used a foil sheet to add metallic accents. With your foil, color/design side up, use your finger to press the foil sheet onto your background in the sticky areas. As you pull the sheet back up it leaves behind bits of foil.

2. Cut white cardstock for the main layer of the card. Cut a block from the alcohol background to go across the white cardstock. Die cut the ModaScrap Lacy Poppies from the rest of the background. Attach flowers and block to the white cardstock as shown.

3. Die cut Bliss from both white cardstock and silver mirror cardstock. Glue the words together offsetting them to see the silver and glue them to the card.

4. Layer the main panel to a coral colored panel and then to the folded white card.

I hope you like this card. It is such an simple card and so pretty. It would be easy to make several and spread some sunshine through the mail.

Hugs, Wanda

Elizabeth Craft Designs General

Merry Christmas Reindeer Silhouette Scene

December 14, 2017

Hi Crafty Fiends,

It’s Frances here and it’s my turn to post a tutorial for the Die Cut Design Team today. Alcohol Inks are becoming increasingly popular again lately, so I decided to pull mine out to have a play. I decided to create a night sky background using various colors of alcohol inks and then create a silhouette scene using the Reindeer die set. This card was fairly quick to create so would be good for mass production if anyone still has a batch of Christmas cards to make. If you haven’t been reminded lately, there are only 10 days to go!!!!

Continue Reading

%d bloggers like this: