Slide 1 Slide 1 (current slide) Slide 2 Slide 2 (current slide) Slide 3 Slide 3 (current slide) Slide 4 Slide 4 (current slide) Slide 5 Slide 5 (current slide) Cute & Whimsical Lisanne Geerdink 7/4/25 Cute & Whimsical Lisanne Geerdink 7/4/25 Create Fun, Easy Shaker Cards for Summer Read More New release, Art Journal Specials Liz Gaze 7/1/25 New release, Art Journal Specials Liz Gaze 7/1/25 The ‘In the Garden’ Collection! Read More Everyday Elements Teresa Cruz 6/27/25 Everyday Elements Teresa Cruz 6/27/25 Easy Shaped Cards with a Colorful Hummingbird Read More Cute & Whimsical Rebecca Quispel 6/20/25 Cute & Whimsical Rebecca Quispel 6/20/25 How to Build the Good Times Scooter and Sidecar Read More DT Spotlight, Meet The Team Sylvia van der Steen 6/15/25 DT Spotlight, Meet The Team Sylvia van der Steen 6/15/25 Design Team Spotlight Read More Everyday Elements Jacqueline Muller 6/13/25 Everyday Elements Jacqueline Muller 6/13/25 Easy Watercolor and Masking Techniques Read More New release, Cute & Whimsical Liz Gaze 6/10/25 New release, Cute & Whimsical Liz Gaze 6/10/25 The ‘Good Times’ Collection! Read More Art Journal Specials Jennifer Ritchie 6/6/25 Art Journal Specials Jennifer Ritchie 6/6/25 Make a Pocket Page Element for Your Journal Read More DT Spotlight, Meet The Team Wanda Welsh 6/1/25 DT Spotlight, Meet The Team Wanda Welsh 6/1/25 Design Team Spotlight Read More Planner Essentials Michelle Sammut 5/30/25 Planner Essentials Michelle Sammut 5/30/25 Tips to create Travel themed pages the EZ way! Read More Cute & Whimsical Ellen Prinsen 5/23/25 Cute & Whimsical Ellen Prinsen 5/23/25 Quick and Easy Cute & Whimsical Bookmarks Read More New release, Planner Essentials Liz Gaze 5/18/25 New release, Planner Essentials Liz Gaze 5/18/25 The ‘Once In a Lifetime’ Collection! Read More Older Posts
Cute & Whimsical Lisanne Geerdink 7/4/25 Cute & Whimsical Lisanne Geerdink 7/4/25 Create Fun, Easy Shaker Cards for Summer Read More
New release, Art Journal Specials Liz Gaze 7/1/25 New release, Art Journal Specials Liz Gaze 7/1/25 The ‘In the Garden’ Collection! Read More
Everyday Elements Teresa Cruz 6/27/25 Everyday Elements Teresa Cruz 6/27/25 Easy Shaped Cards with a Colorful Hummingbird Read More
Cute & Whimsical Rebecca Quispel 6/20/25 Cute & Whimsical Rebecca Quispel 6/20/25 How to Build the Good Times Scooter and Sidecar Read More
DT Spotlight, Meet The Team Sylvia van der Steen 6/15/25 DT Spotlight, Meet The Team Sylvia van der Steen 6/15/25 Design Team Spotlight Read More
Everyday Elements Jacqueline Muller 6/13/25 Everyday Elements Jacqueline Muller 6/13/25 Easy Watercolor and Masking Techniques Read More
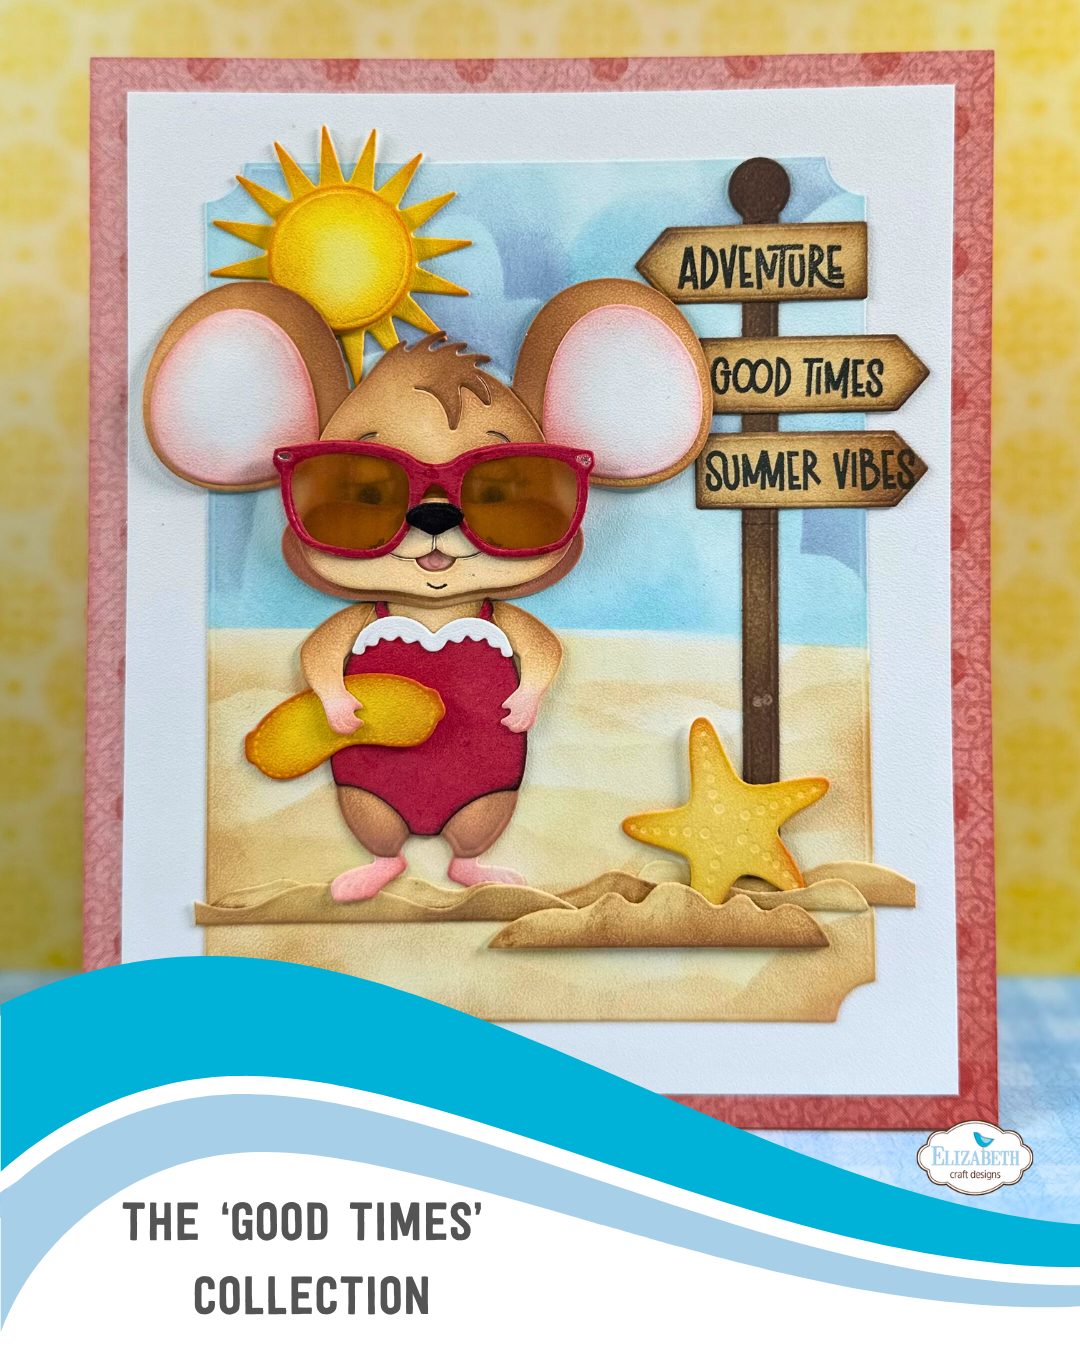
New release, Cute & Whimsical Liz Gaze 6/10/25 New release, Cute & Whimsical Liz Gaze 6/10/25 The ‘Good Times’ Collection! Read More
Art Journal Specials Jennifer Ritchie 6/6/25 Art Journal Specials Jennifer Ritchie 6/6/25 Make a Pocket Page Element for Your Journal Read More
DT Spotlight, Meet The Team Wanda Welsh 6/1/25 DT Spotlight, Meet The Team Wanda Welsh 6/1/25 Design Team Spotlight Read More
Planner Essentials Michelle Sammut 5/30/25 Planner Essentials Michelle Sammut 5/30/25 Tips to create Travel themed pages the EZ way! Read More
Cute & Whimsical Ellen Prinsen 5/23/25 Cute & Whimsical Ellen Prinsen 5/23/25 Quick and Easy Cute & Whimsical Bookmarks Read More
New release, Planner Essentials Liz Gaze 5/18/25 New release, Planner Essentials Liz Gaze 5/18/25 The ‘Once In a Lifetime’ Collection! Read More