
Hello everyone,
We’re back to show you some wonderful creations for our Monthly Designer Challenge.
This month we challenged our designers to create a project using a repositionable sticker. What is a repositionable sticker? Els will show you in the following Video:
To create a repositionable sticker, you will need a Peel-off Sticker, Double Sided Adhesive, Sticker Transfer Sheet, Silk Microfine Glitter in Warm or Cold Diamond, and permanent markers.
Let’s see what our Design Team created!
Mary Prasad used her stickers to decorate a light switch plate. What a great idea! And what I like about the stickers is that you can pick them up and use them somewhere else.


Raquel Mason made this stunning Christmas ornament using a Christmas tree and snowman from the Snowman Peel-off Sheet. Why spend money on expensive Christmas ornaments when you can just make your own? This would be a great holiday project or fun for birthday parties. Make sure to visit Raquel’s blog for more info.


Jackie Smith created 4 beautiful repositionable stickers to decorate a grocery board. Jackie used the Hydrangea Peel-off and the ladybug and butterfly from the Ladybugs Peel-off Sheet. Love the beautiful matching colors. For more info, visit Jackie’s blog HERE.

Candy Spiegel also used the Hydrangea Peel-offs but her repositionable stickers are featured on a gorgeous vase. Love the Glitter Dots Peel-offs she added to the centers of the flowers. More info on Candy’s blog.

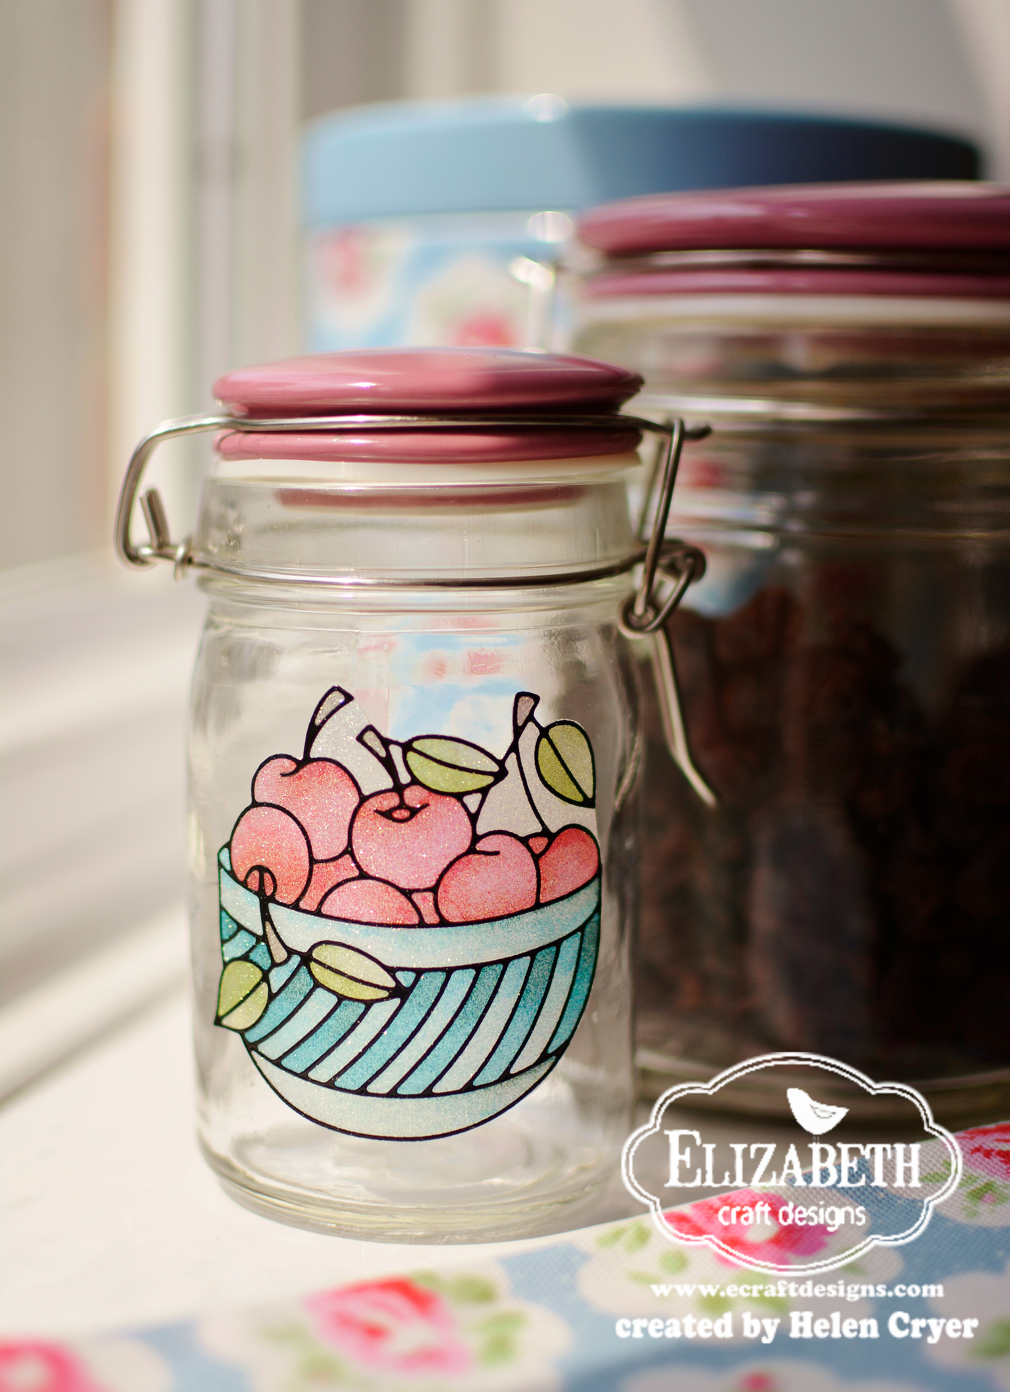
Helen Cryer used the Cherry Bowl Peel-offs in black and created a Thank You card. With a note inside to let the recipient know how the repositionable peel-offs work, she can decide where and how to use this little gift. A glass jar would be a great idea. Love the pastel colors! Make sure to visit Helen’s blog for more wonderful creations.


Karen Aicken ![]()
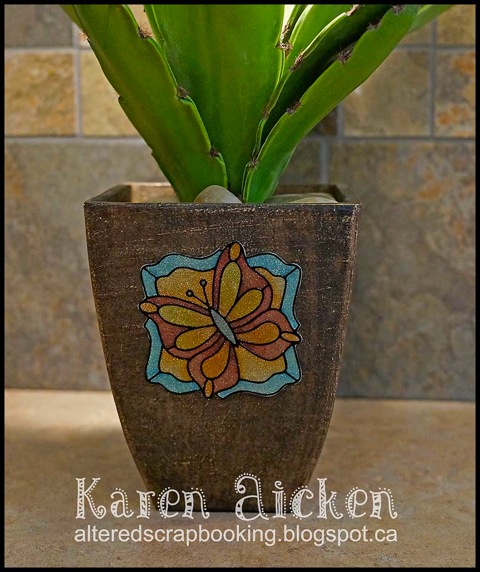
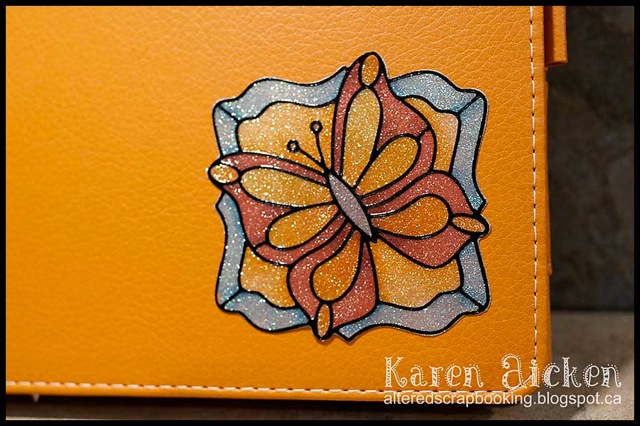
![]() used the Butterfly Label 1 Peel-off in black and showed us 3 ways to use the repositionable sticker. For example on an iPad cover, a vase or on a travel mug as shown in the last picture. So many possibilities with the repositionable stickers! Make sure to visit Karen’s blog for more ideas.
used the Butterfly Label 1 Peel-off in black and showed us 3 ways to use the repositionable sticker. For example on an iPad cover, a vase or on a travel mug as shown in the last picture. So many possibilities with the repositionable stickers! Make sure to visit Karen’s blog for more ideas.


Kelly Booth used one of the fish from the “Fishes” Peel-off Sheet in Gold to decorate this stunning soap dispenser, the perfect sticker for bathroom decor. Love the coloring and the added bubbles and plants. Visit Kelly’s blog for more info.

Rita Edwards used the Tulip Peel-offs in Silver to create 2 beautiful small scale glass holders. You can use them for face cloths, candies or nuts, or even for a battery-operated tea light. The peel-offs look stunning, just like stained glass! Visit Rita’s blog HERE for more info

The last project is from Debra Hensley. She used one of the Big Butterflies Peel-offs in Black to create a beautiful Happy Birthday card. Just like Helen’s card, the recipient of the card can choose where to position the sticker. The butterfly will look stunning on many things. Love the added flowers and circles. For more info, visit Debra’s blog HERE.

![]()
We’re already at the end of today’s blog post. We hope you enjoyed all the projects! We’ll be back next month on July 31st with another challenge.
Have a wonderful week!


